Guides
How to Design Your Kitchen With AI (Step by Step)
How to design your kitchen with AI, step by step: the right photo, styles and change levels, specific instructions, refining results, and common mistakes.
By the AI Kitchen Design editorial team · Updated November 10, 2026 · 4 min read
AI kitchen design turns one photo of your kitchen into a photorealistic redesign in about 30 seconds. Used well, it replaces weeks of second-guessing with a clear picture of what you actually want. Used carelessly, it produces pretty images of a room that isn't quite yours. Here's how to get results you can make decisions with.
Step 1: Take the right photo
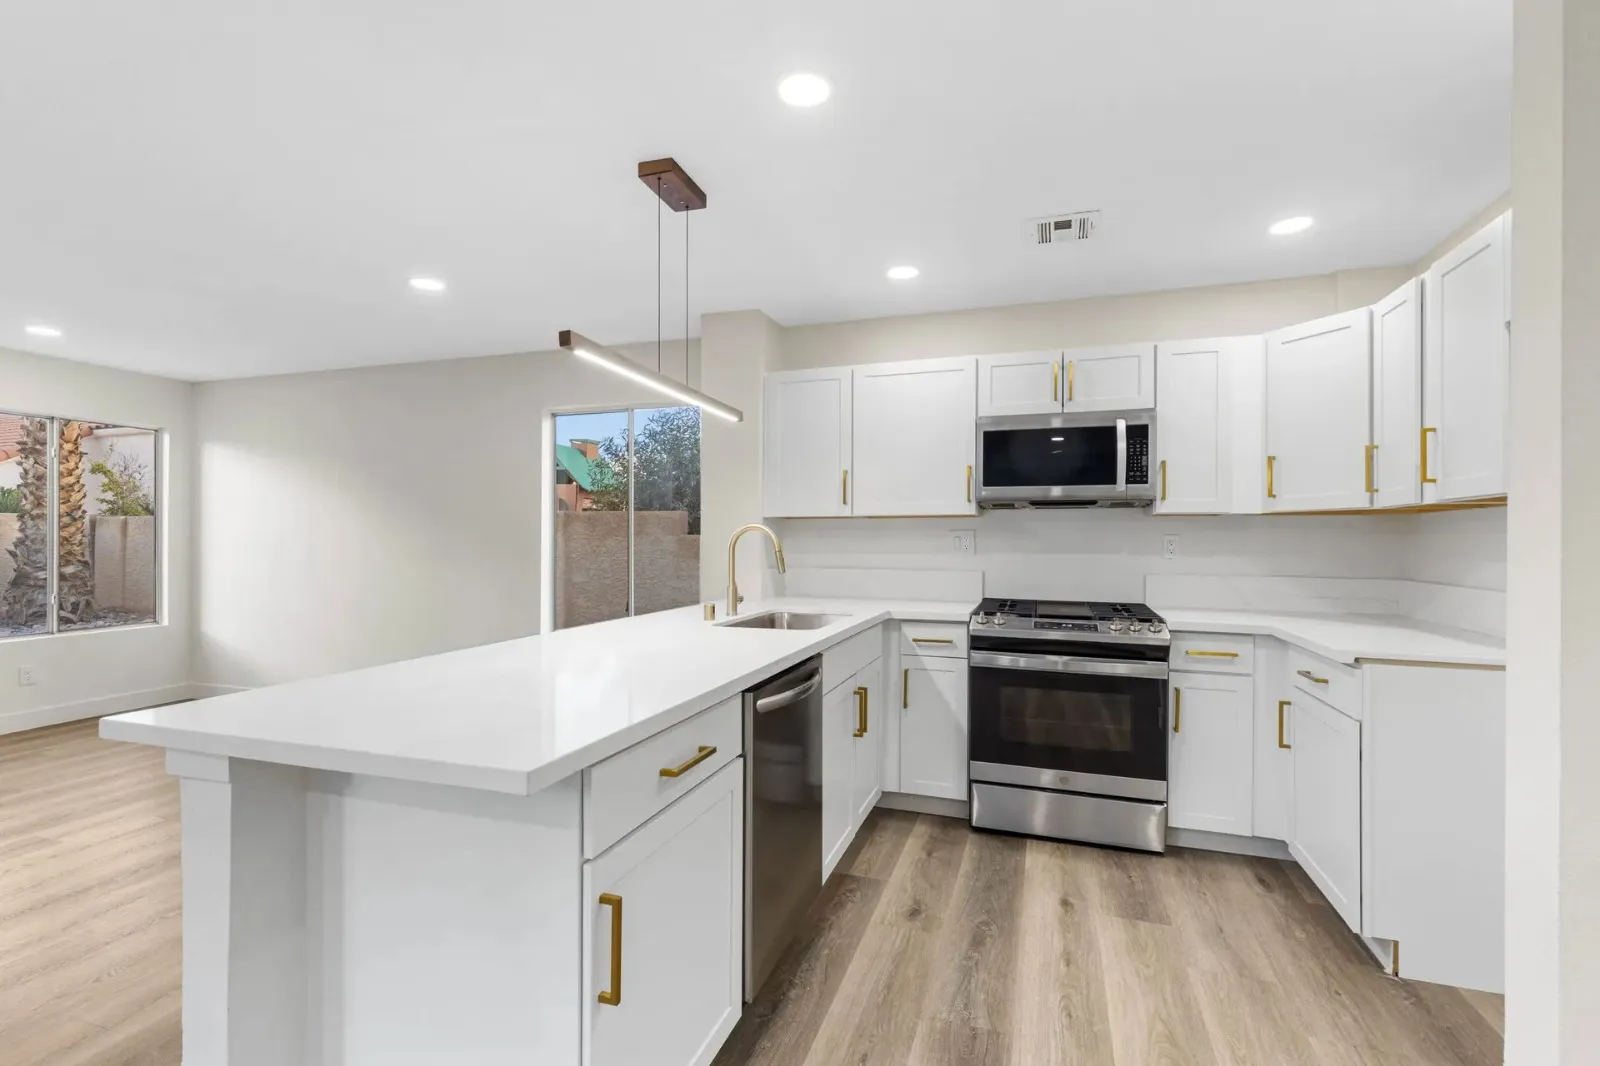
The AI keeps your camera angle, walls, windows, and doors, so the photo defines everything. Five minutes here saves a lot of regenerating later.
- Shoot from a corner or doorway so most of the cabinets are visible.
- Use daylight, with the kitchen lights on too; avoid flash.
- Hold the phone level at counter height. Tilted shots produce tilted designs.
- Use the main camera, not ultra-wide, to avoid stretched edges.
- Clear the counters if you can. Clutter becomes noise in the design.
Step 2: Pick a style
Start with a preset you're drawn to. Each of our 18 kitchen styles defines specific cabinets, counters, backsplash, hardware, lighting, and floor, so the result is a coherent kitchen rather than a random mix. If you're unsure, try three very different ones (say Modern, Farmhouse, and Japandi) and see which you keep coming back to.
Step 3: Choose how much to change
- Refresh keeps your cabinets and layout: new paint, counters, tile, hardware, and lights.
- Remodel replaces all finishes and appliances in the same layout.
- Redesign re-plans the kitchen inside the same walls, which can mean a new island or tall storage.
Not sure which is realistic for your budget? Read refresh vs. remodel vs. redesign.
Step 4: Write specific instructions
The colors and instructions boxes are where you make the design yours. Specific beats general every time:
| Vague | Specific |
|---|---|
| green kitchen | sage green lower cabinets, white oak uppers, brass bar pulls |
| make it bigger | add an island with seating for three on the living-room side |
| modern lighting | two matte black dome pendants over the island |
| keep some things | keep the window seat and the existing range |
Step 5: Use an inspiration photo
Found a kitchen you love on Instagram or Pinterest? Upload it as an inspiration photo. The AI borrows its palette, materials, and mood but keeps your room, so you see that look in your kitchen rather than theirs.
Step 6: Refine one thing at a time
Love a design except one detail? Use Refine and describe a single change: “make the island walnut”, “swap the pendants for brass globes”, “use a white marble backsplash”. Only that part changes, so you keep everything you liked.
Free toolFree 2D & 3D kitchen plannerPlan to scale in 2D, walk around it in 3D, with live layout checks and a cost estimate.Know the limits
AI designs are concepts. The model redraws the image, so small details such as outlet positions, trim, or exact cabinet counts can shift, and nothing is to scale. That's fine for choosing a direction; it's not a substitute for measurements. Sketch the real layout in the free kitchen planner, which uses true cabinet sizes, and have your contractor confirm dimensions.
Step 7: Take it to your contractor
Download your favorite two or three designs and bring them to quotes along with your planner layout and cabinet list. A clear picture of the finished kitchen makes quotes faster and more accurate, and it prevents the most expensive kind of change: the mid-project “that's not what I imagined.”
Common mistakes (and quick fixes)
| Mistake | Fix |
|---|---|
| Close-up photo of one corner | Step back to a corner or doorway so the AI sees the whole room |
| Ultra-wide lens, tilted phone | Use the main camera and hold it level at counter height |
| Asking for ten changes at once | Pick a style, then refine one change at a time |
| Redesign when you want a refresh | Start at Refresh; move up only if you want bigger change |
| Treating the image as a drawing | Use the planner for real dimensions and cabinet sizes |
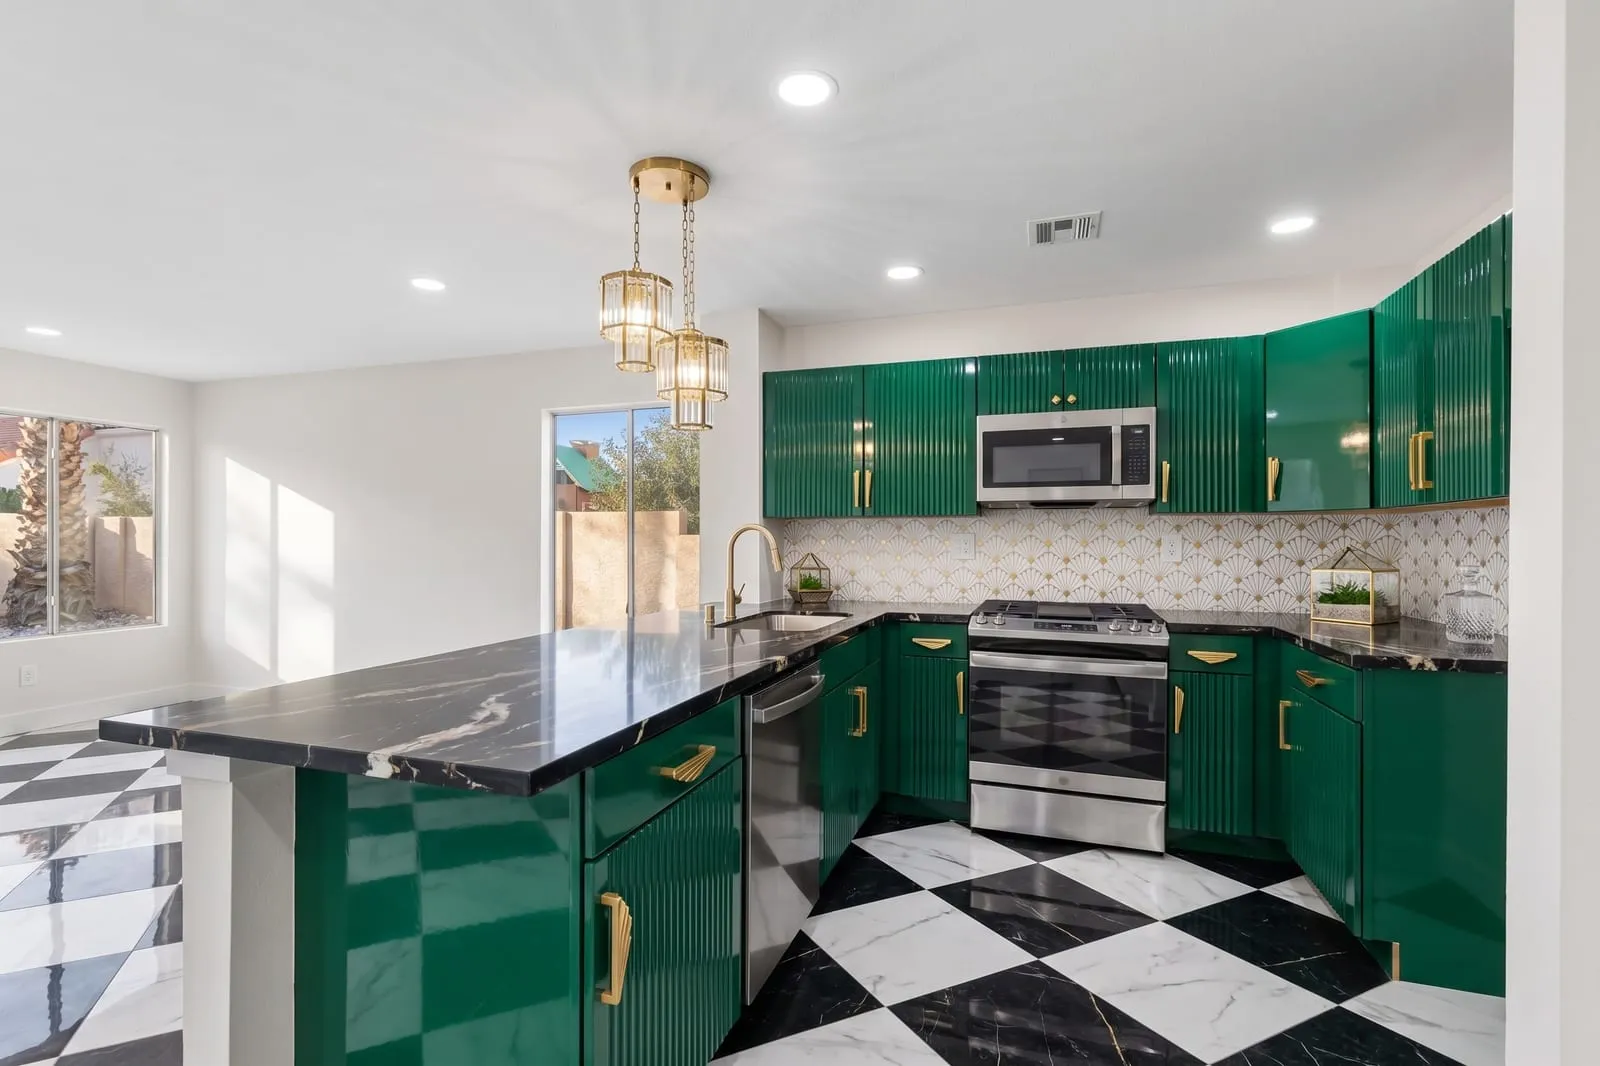
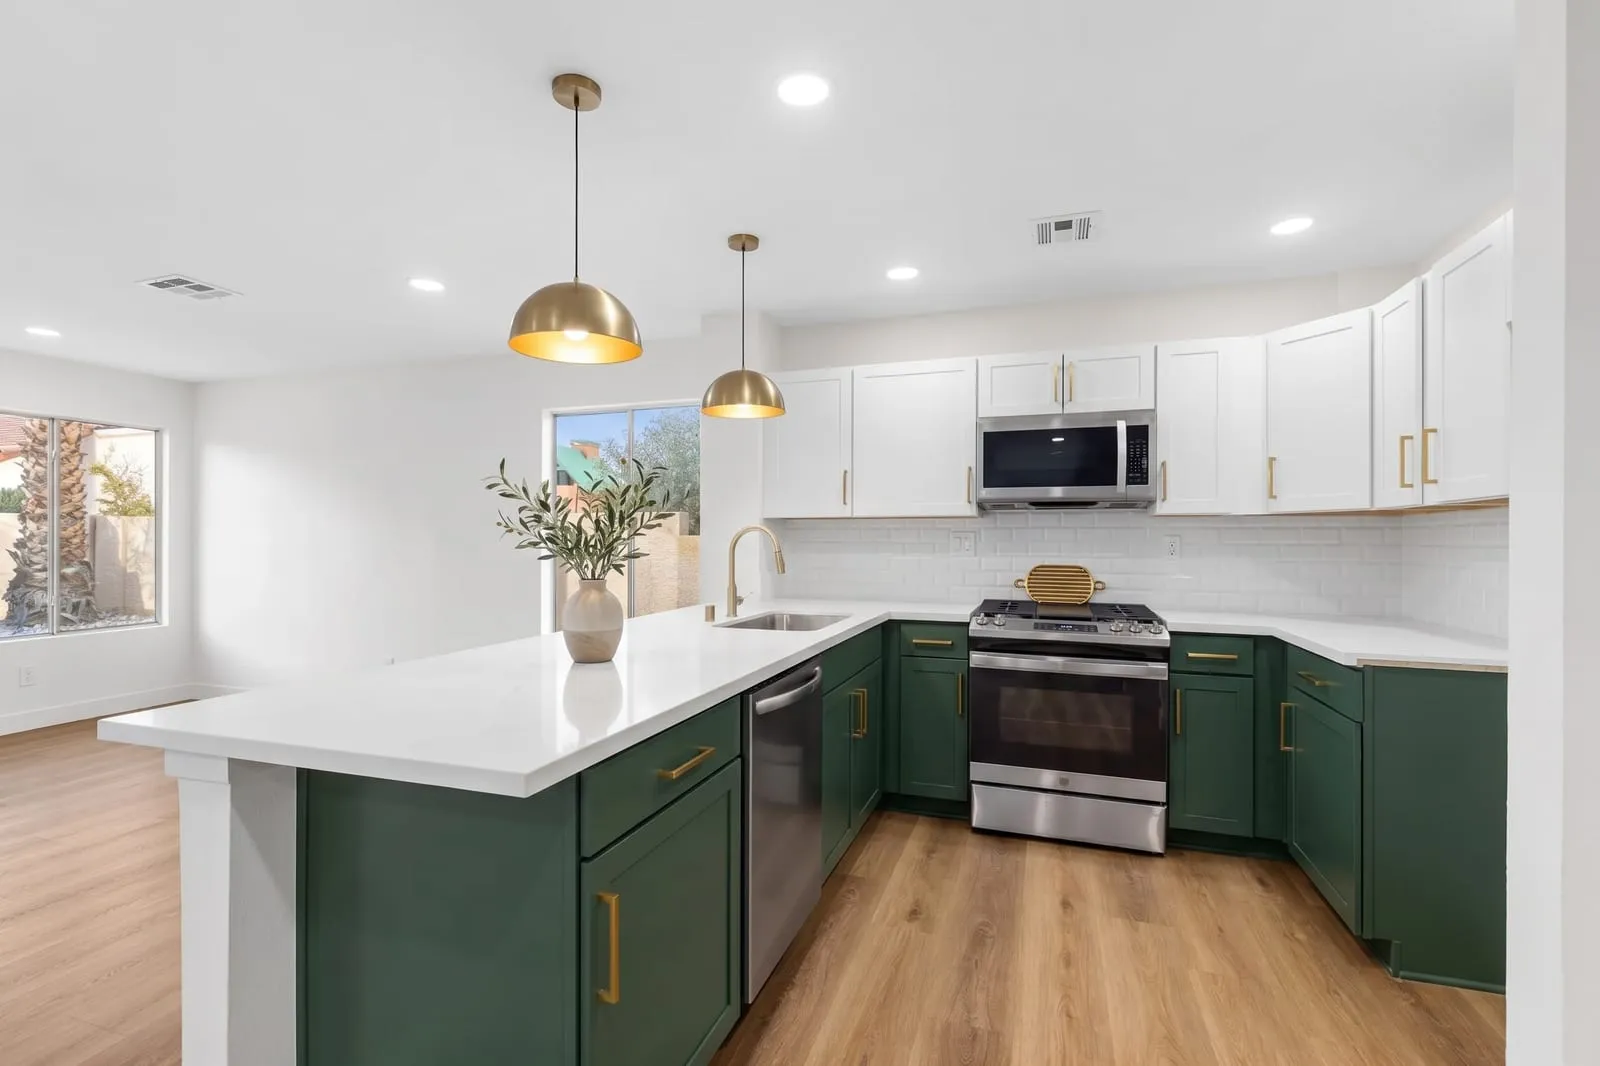
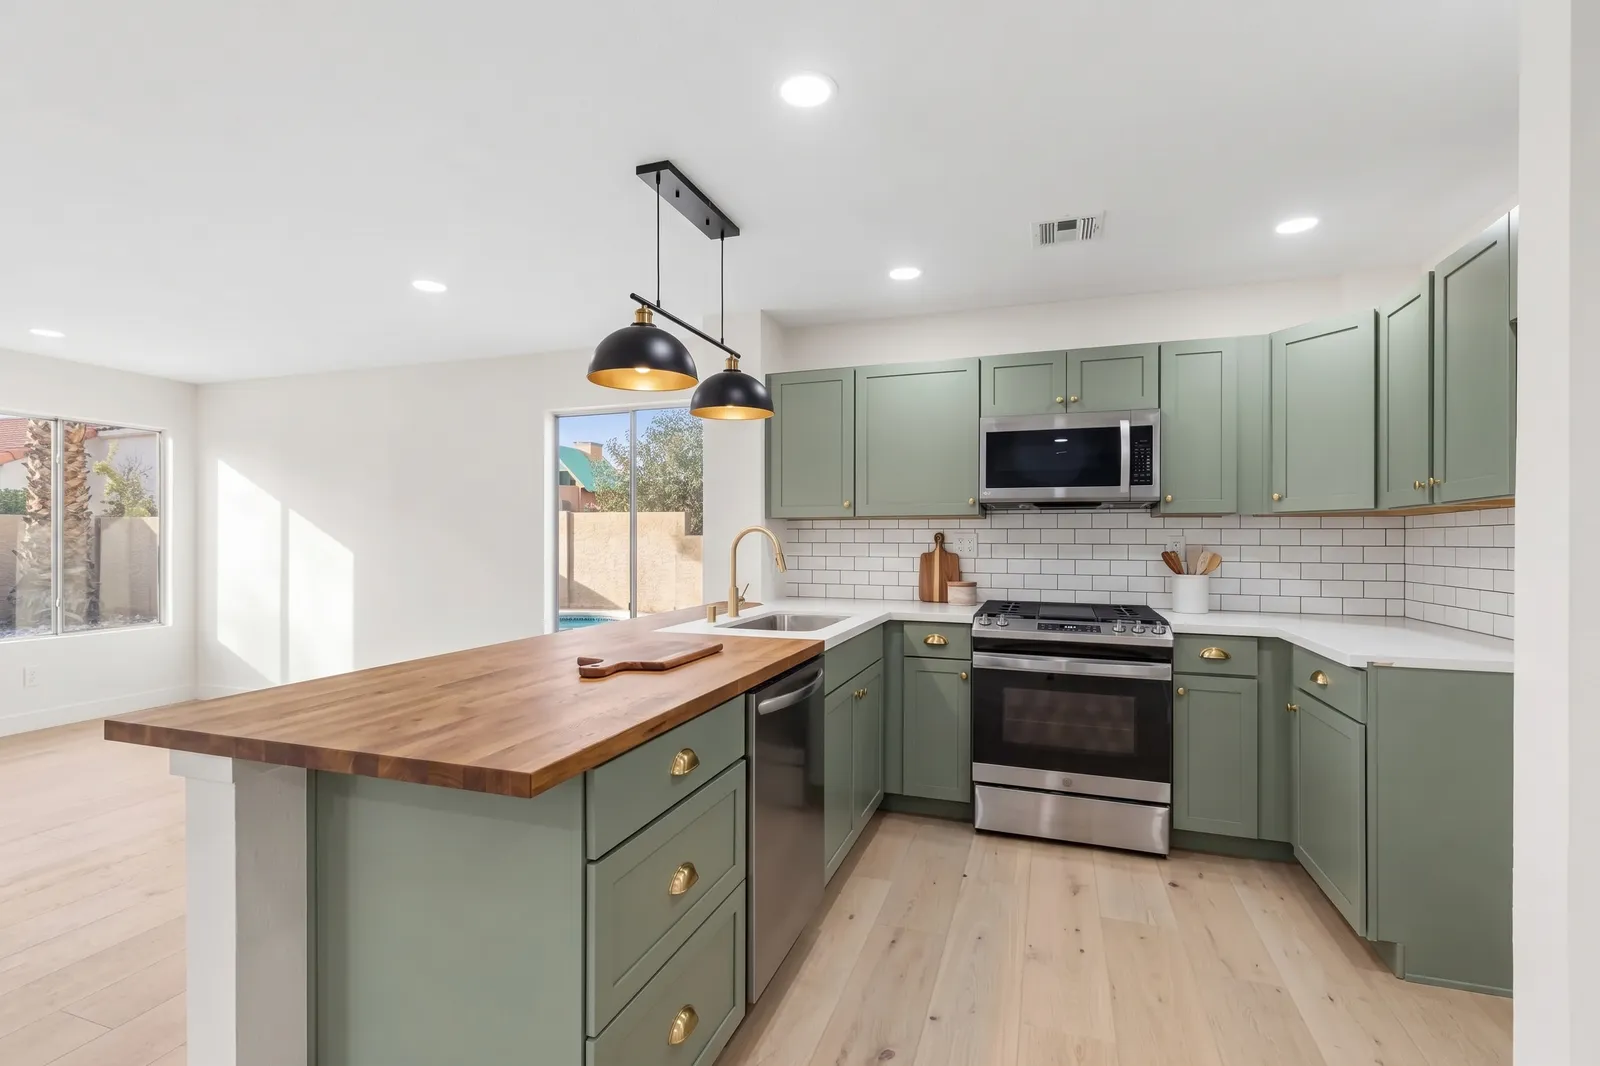
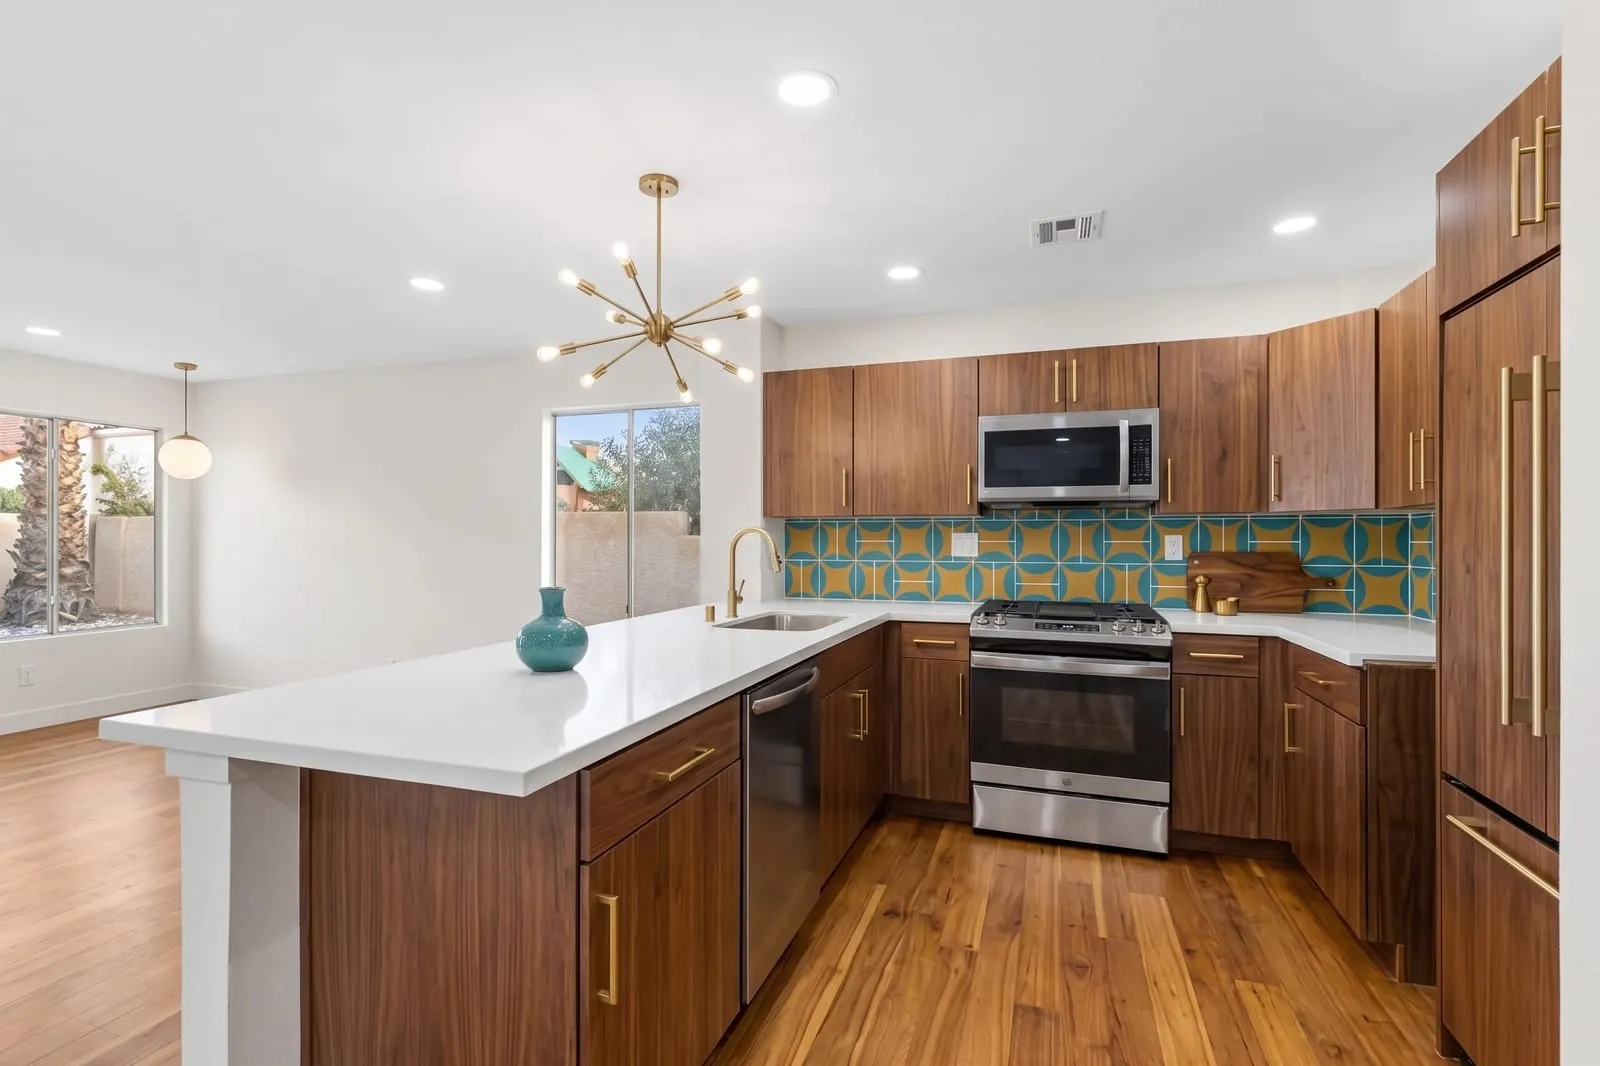
Example: one kitchen, three directions
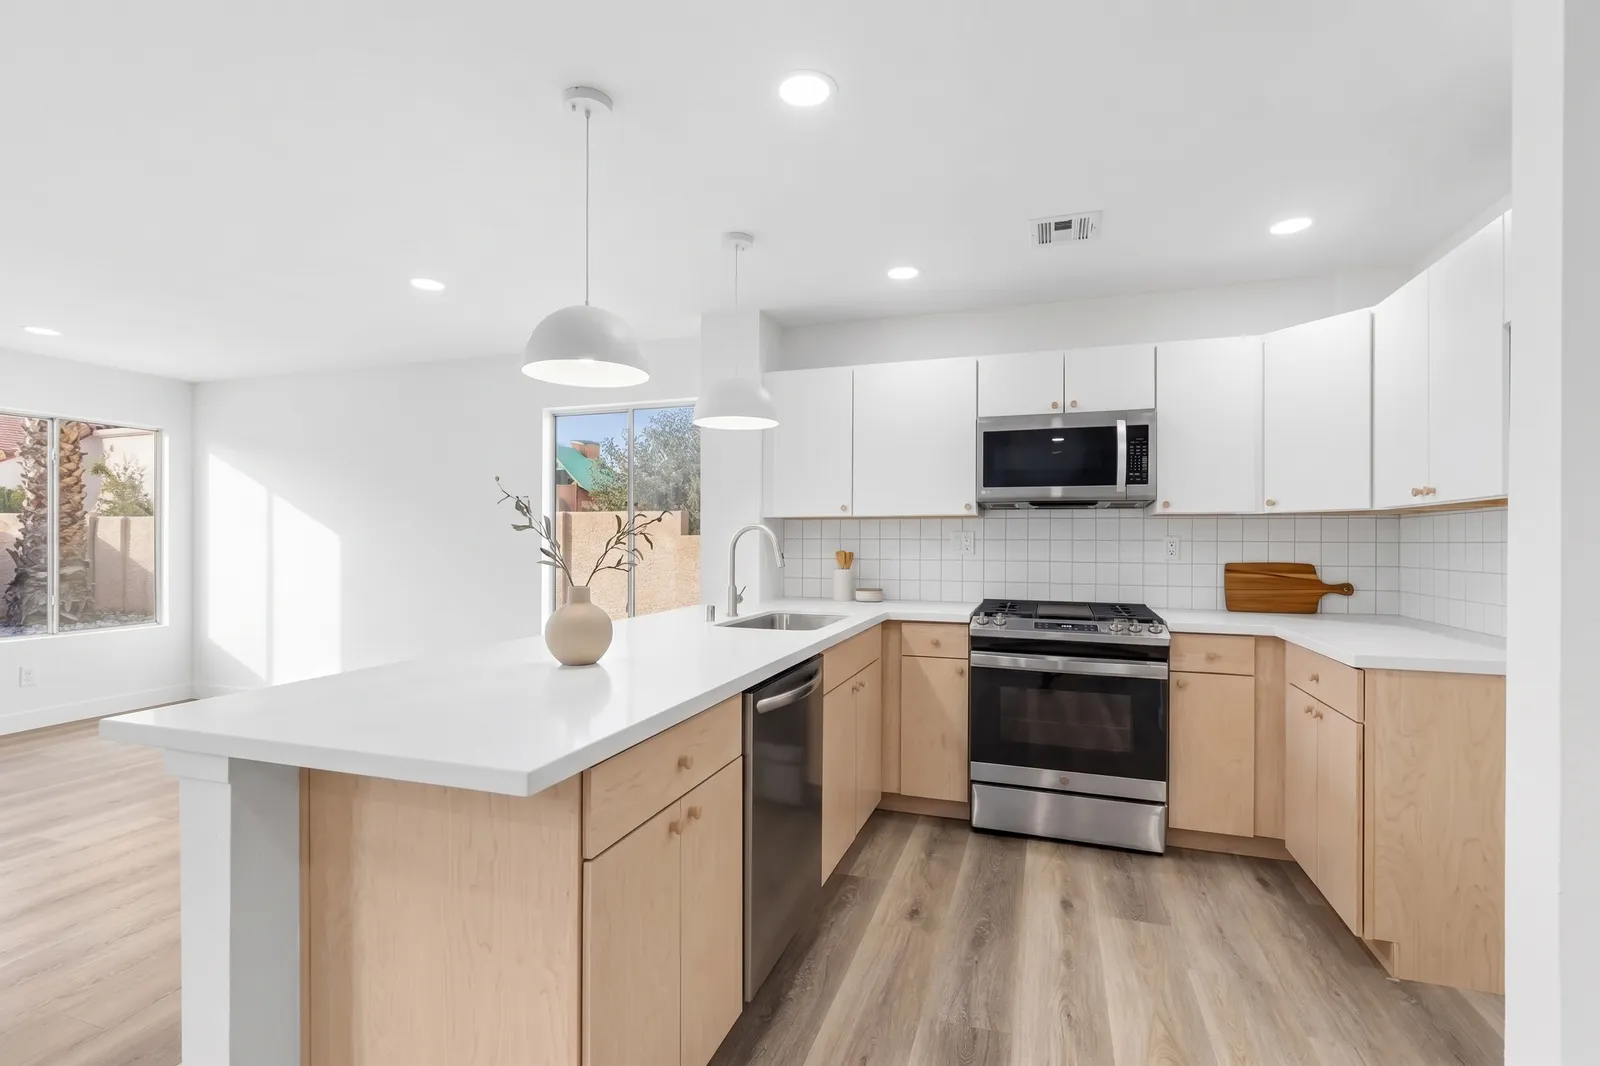
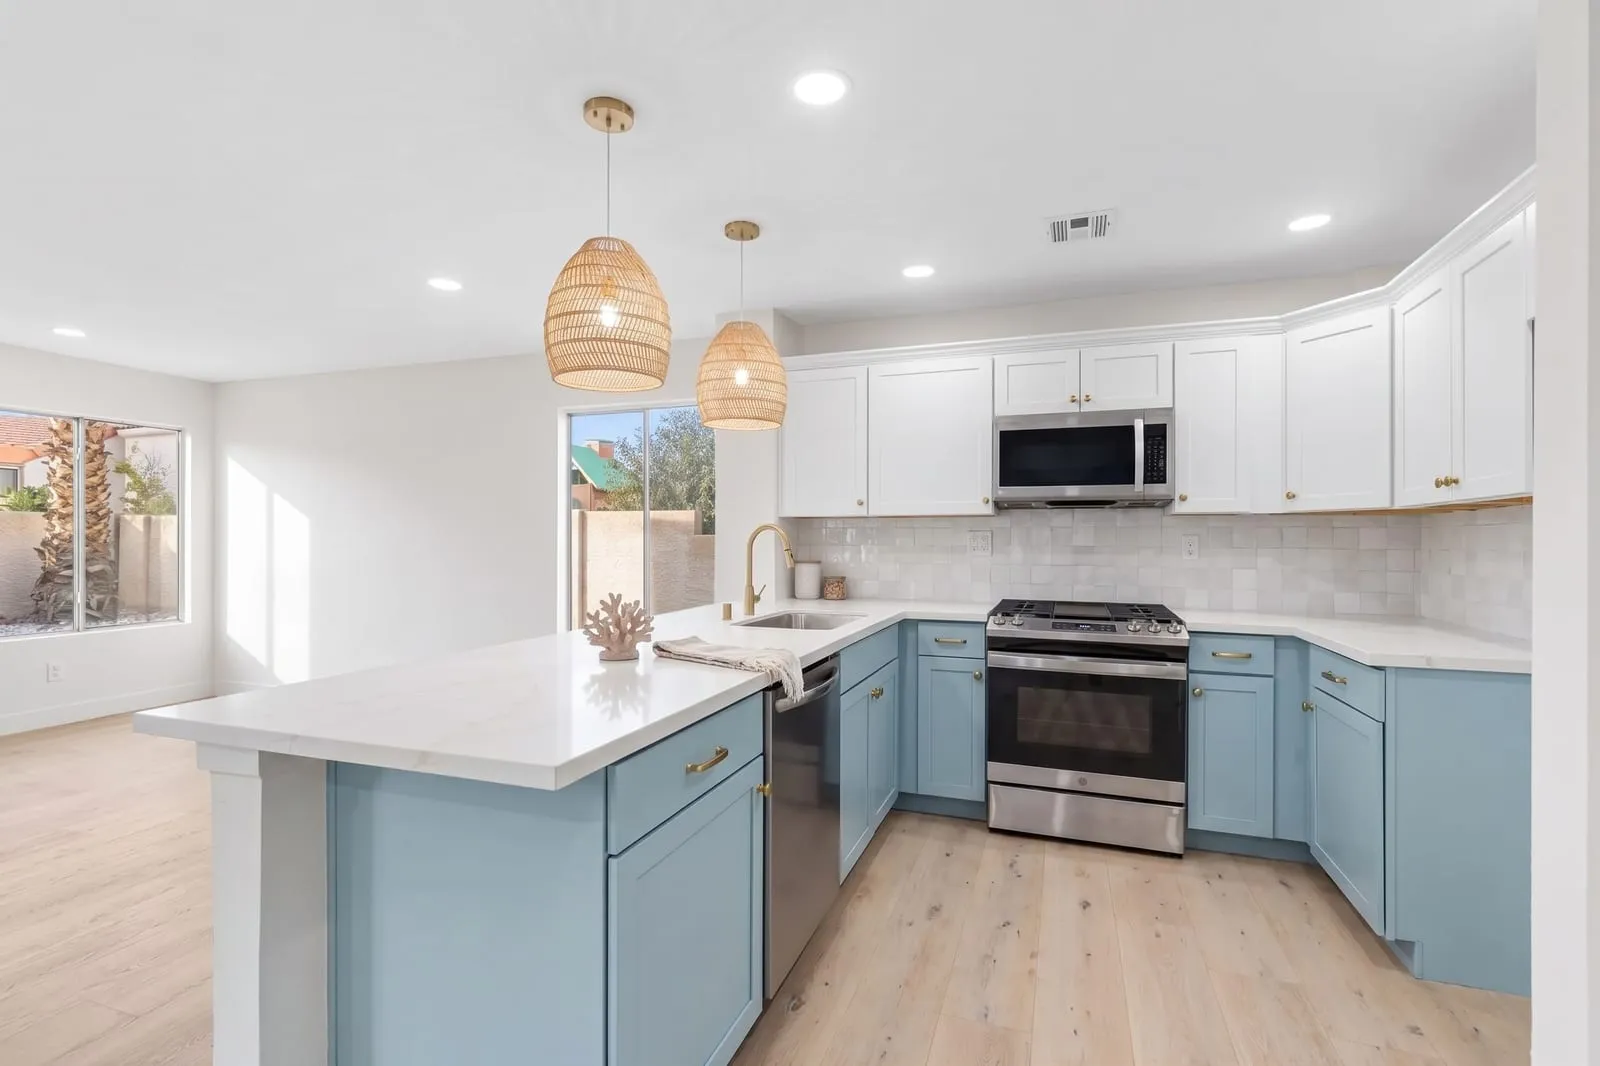
Same photo, two very different results in under a minute each. Trying several directions like this is the fastest way to discover what you actually want, often something you wouldn't have picked from a showroom.
Costs are typical 2026 US installed ranges and planning guidelines follow common NKBA recommendations. They're for planning only; confirm prices, measurements, and local codes with a licensed contractor. How we create our content.
Frequently asked questions
- Can AI really design my kitchen?
- AI is excellent at showing what colors, materials, and styles will look like in your actual room. It doesn't produce measured drawings, so a designer or contractor still plans dimensions, plumbing, and electrical.
- What's the best photo for AI kitchen design?
- A bright, wide shot taken from a corner or doorway at about counter height, phone held level, showing most of the cabinets and at least one window.
- Why does the AI sometimes change small details?
- Image models redraw the whole picture, so small objects, outlets, or trim can shift. The layout and camera angle are kept, but treat details as suggestions, not specifications.
- How many designs should I try?
- There's no right number, but trying several styles at the Refresh level first is a cheap way to narrow down a direction before exploring bigger changes.
- Can I use an inspiration photo?
- Yes. Upload one alongside your kitchen photo and the AI borrows its colors, materials, and mood while keeping your room's layout and camera angle.